
For this tutorial in video form, click here
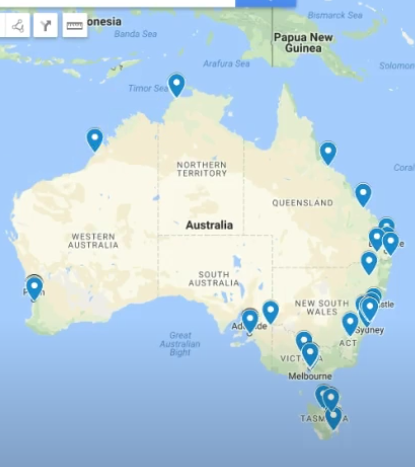
In this article, we’ll show you how to map data in your CRM. Here is an example of the final product:
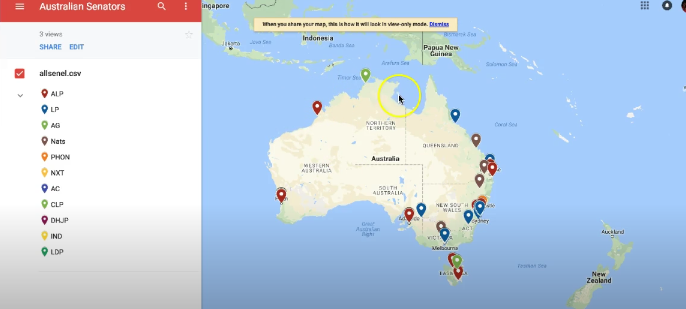
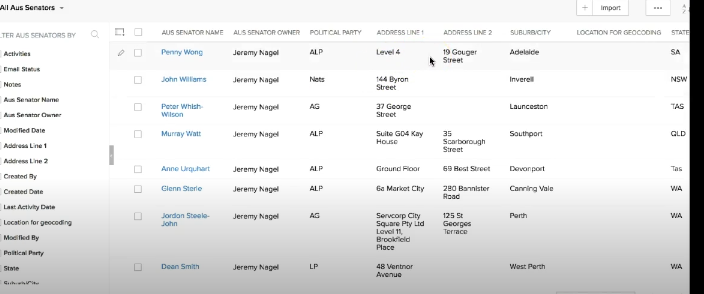
It shows a map of Australian Senators. You can see they are mapped in the appropriate places. They also have different colors, depending on their political allegiance. Here you can see the data in our CRM with address details:
Geocoding
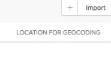
How do you do this? While you probably have access to addresses somewhere, they might not be in a state that is suitable for Geocoding. In order for Google Maps to understand your address, it needs to all be in one field. To do that, we’ll add a field called “location for geocoding”.
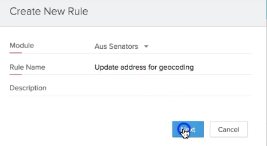
Let’s go to Setup > Automation> Workflow rules. Here, click “Create Rule”. In our case, it’s for the Australian Senators custom module:
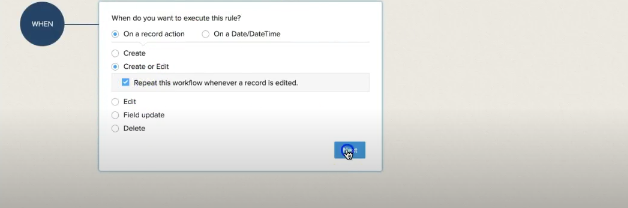
Click next, and we’ll fill out the conditions for the workflow rule. For “when”, choose Create or Edit:
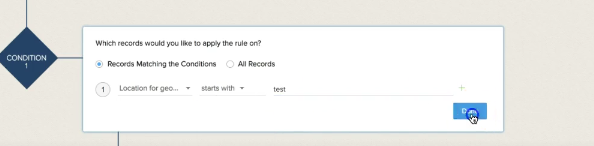
This is how we filled out the conditions:
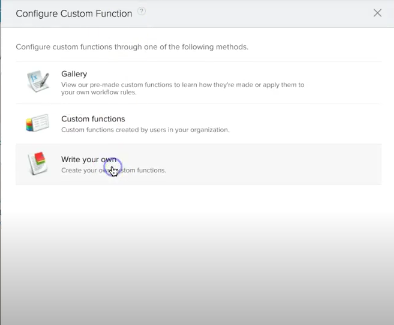
Under functions, click custom. You’ll see this screen, where we’ll select “write your own”:
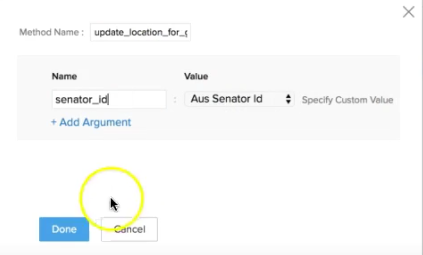
We’ll name it “update_location_for_geocoding”. We also specify a parameter: senator_id
We’ll then enter the following code:
senator_record = zoho.crm.getRecordById("Aus_Senators", senator_id);
full_location = ifnull(senator_record.get("Address_Line_1"), "") + " " + ifnull(senator_record.get("Address_Line_2"), "") + " " + ifnull(senator_record.get("City"), "") + " " + ifnull(senator_record.get("State"), "");

update_payload = {
   "Location_for_geocoding": full_location
};

update_resp = zoho.crm.updateRecord("Aus_Senators", senator_id, update_payload);
Now save the function and we’ll give it a go. Let’s head over to our Senators module, select all of them, and click “mass update”:
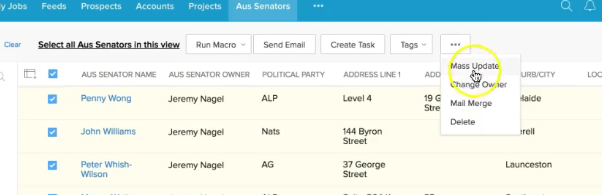
We’ll mass update Location for geocoding to “test” which will trigger the workflow rule.
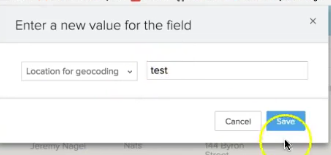
The location should now be updated for all of the records.
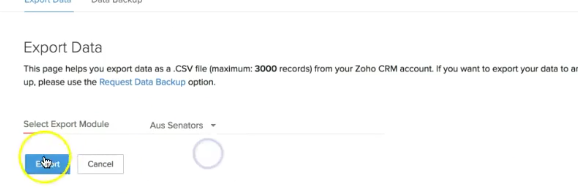
Exporting The Data
Head over to Setup > Data Administration > Export. We’ll then choose our module as seen below, and click export:
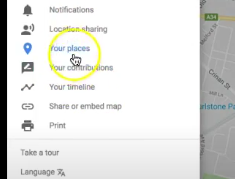
Now let’s go to Google Maps. In the dropdown menu, click “your places”.
Next click “maps” and “create map”. We’ll give ours an appropriate name.
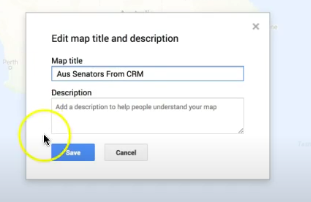
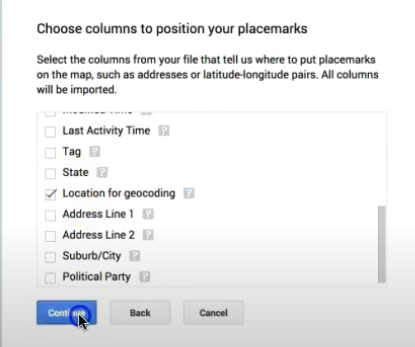
Save it, then click “import”. Choose your file with the information you want. Next, we’ll select our location for placemarks as “Location for geocoding”.
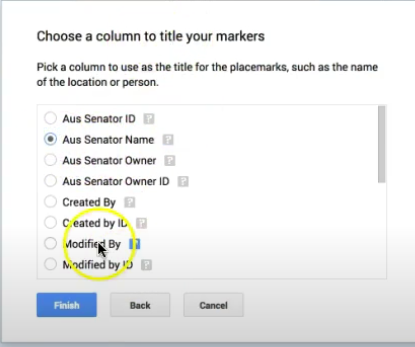
It will then ask you what to title the markers. In our example, we want “Aus Senator Name”, because it will give us the names of each Senator where they are.
Once you finish, you should see a rough outline of your map, but with a uniform style:
We want party affiliation as well. To do this, click on “Uniform Style” and change it to what you want. You’ll also be able to change what data appears to label the points. These settings can both be found on the left.
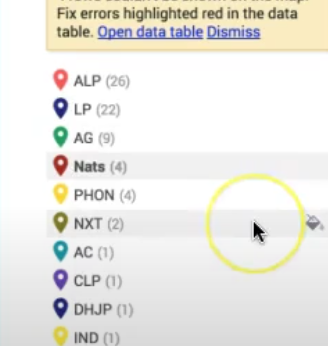
Take a look at the data now that we’ve applied it by party. You can change the colors to what you want by clicking on a data point.
Conclusion
This is really neat because you can use it on your mobile phone. Maybe you’re a traveling salesperson and you want the location of each client. It’s also great has as a real world visualization tool. We hope this article helped you. Good luck!