
For this tutorial in video form, click here
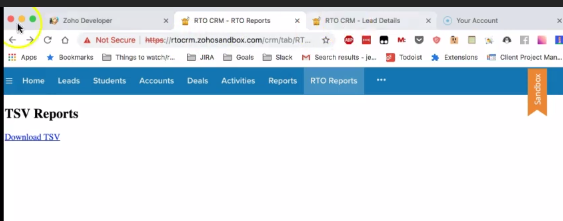
In this article we’ll show you how to use widgets in Zoho CRM to allow you to download data in TSV format. It doesn’t just have to be TSV, but we’ll do it in this example. Here, you can see we have a web tab, which is created based on a widget under connected apps in Zoho Developer:
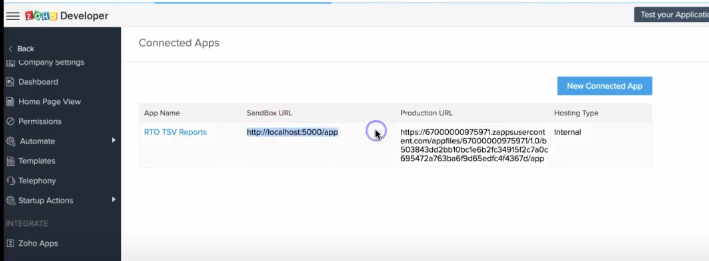
The Sandbox URL is pointing to a local server we’re running. This would eventually be hosted by Zoho. We’re using our own third party server.
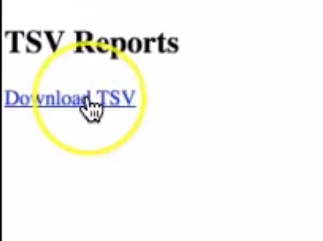
Let’s click download TSV.
It will generate a TSV file. If we open it, we can see that it’s showing data from the leads module.
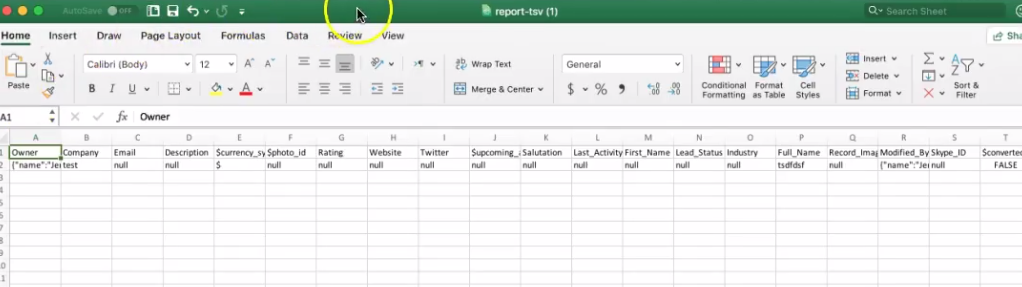
Now, we only have one lead in there, but you can see how it’s set up.
The Process
Let’s demonstrate how this was all done. We’ll pull up the code:

Lines 2-11 showcase the widget code for the web tab. On line 19, you can see we’re using the Zoho CRM embedded app SDK. Line 17 is an anchor with a download attribute that specifies what file name it should be.
On line 26, you’ll see some Javascript which starts on the page load.

Immediately below that, we do a call via the API to get all the lead data. Once we have the data, we update the link as seen starting line 29 to make it trigger a download of a programatically generated TSV file (pictured below):

Let’s dig into the generateTsv function.
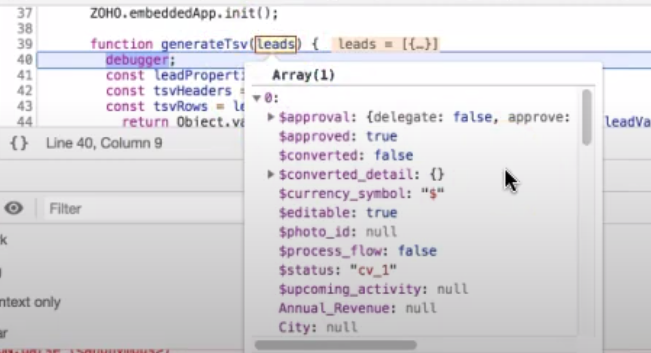
As you can see, we only have one lead in the leads array. Our code sets up the headers based on the keys of the first lead and then generates TSV rows using the data for each of the leads.

In some cases, the properties have nested properties of their own. For example, look at $approval:
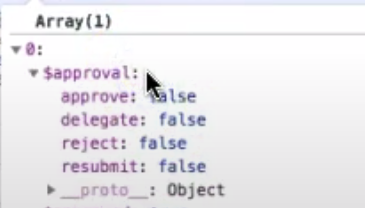
What we’ll do in this example is convert it to stringified JSON so that we don’t lose any of the data (otherwise it would display as [Object object].

Let’s go back to our spreadsheet to see this in action.

The way we make it a TSV file is by using .join(‘\t’) which separates each column with a tab character.

We also use the .join\n to add a new line at the end of each row. Lastly, we have the end result on the bottom line:

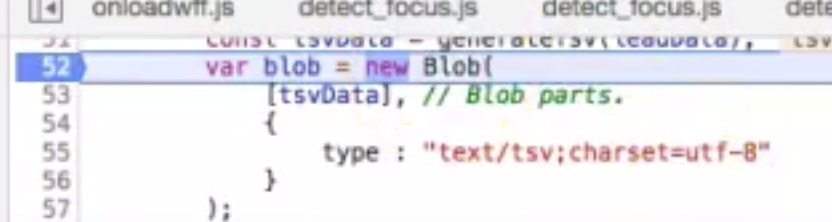
It’s the headers followed by the rows. Once we have that, we create a new blob.
The next part saves some memory if we update the data:
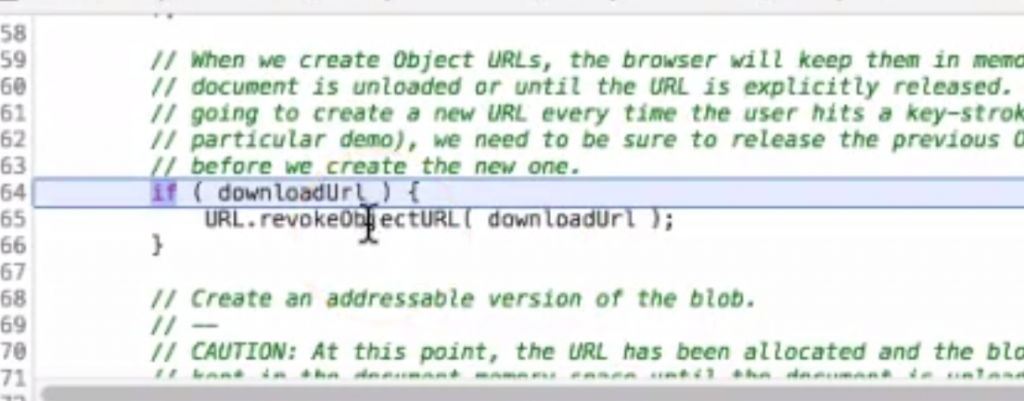
Now we use URL.createObjectURL to create a special URL which will link to that blob.
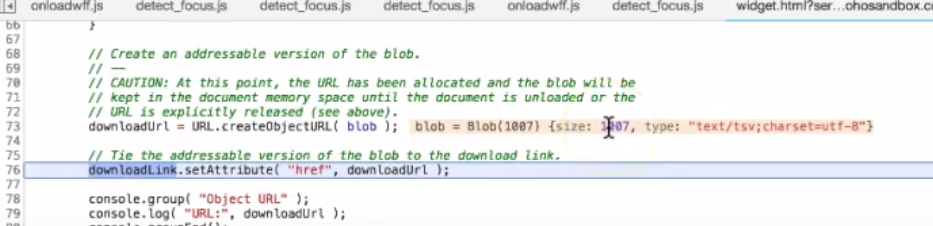
Here, you can see it’s creating a blob which is about 1 kilobyte in size. This is what the download URL looks like:

This may seem a bit weird, but that’s the way it works. We then set the href attribute which is where the link will be pointing.
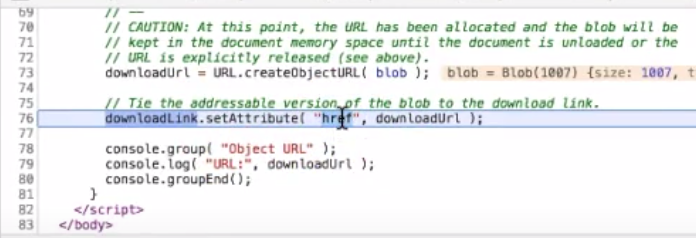
At that point, our link is ready for us to click on. The file name will be based on the download attribute. Click “download TSV” and you’re good to go!
Conclusion
You don’t just have to download TSVs. This could also be used for creating graphs, and adding your own functionality onto Zoho CRM.